Pocket Advent Calendar Tutorial
*Disclaimer: This post contains affiliate links. I make a small commission when you place an order through them. Thank you!
Recently my friend Joleen asked me to write an article for her blog about creative Advent Calendars. Since this "assignment" sounded right up my alley, I quickly said "Yes" and set about brainstorming and searching the web for creative and unique ideas.
One of the calendars I ran across was this one from Pottery Barn (no longer available) which I saw knocked off in a couple of tutorials but they weren't THAT interesting so I decided to do my own!
 |
| Pottery Barn version |
I started with this plain canvas shoe organizer from Amazon. It was about $11 and FREE shipping (yay PRIME!)
I knew I wanted mine to be more colorful than the PB version so I chose a couple of colors of paint and some assorted trims with which to decorate the pockets. You'll remember from my last post that my studio is still pretty much entirely packed up so I had virtually no access to my supplies.
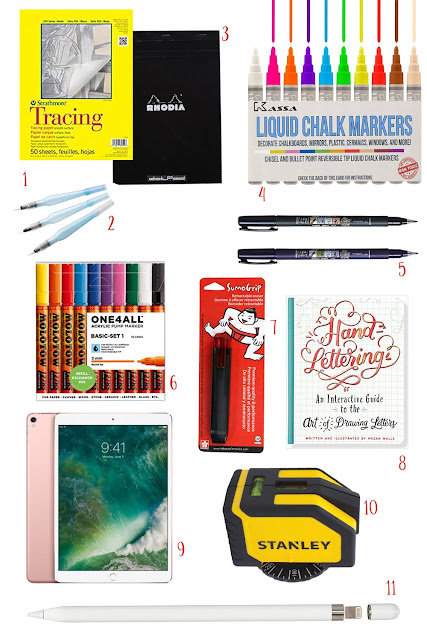
In addition to what is pictured, I also used my trusty paint markers. My current favorites are Molotow Acrylic Paint Markers and also these Hand Made Modern markers from Target.
For the first step, I painted random pockets with loose patterns and solid. Make sure to put pieces of cardboard inside the pockets so the paint does not bleed through to the back or the pocket gussets. You can also use masking tape to make clean stripes or lines.
Once the pockets were dry, I went back in and added a few details with some paint markers. Mostly I cleaned up lines and added some dots and accents.
Next, start gluing on trims. I used regular old Tacky Glue and embellished the tops of pockets, bottoms, made stripes and lines down the pockets. Be creative, just make sure you aren't interfering with the pocket opening.
Now, the FUN part! Adding the numbers! I found that the paint pens kind of bled if I applied them directly to the unpainted fabric so if I wanted a number on an "unpainted" pocket, I actually applied a little natural paint as a base. I used a variety of the pens. colors and lettering styles to label each pocket.
Finally, I added a few more bits and bits and bobs to fill in spots that I felt were a little too plain. You can embellish with extra trim, your pens, or other little ornaments. If I had known where my buttons were, you can bet some of them would have ended up on here but I figure I can add to it over the years if I want. All there is to do now is start filing it with treats for my daughter to start opening in December.
Here's a fun slide show of each pocket close up!


Comments
Post a Comment
Thanks for your comment. I love hearing from you!